1. Start Blender by clicking on Start>All Programs>Blender Foundation>Blender>Blender.
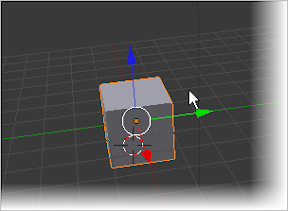
2. Press Esc to get rid of the Splash screen then select the default cube by right-clicking it.
3. Click the particles button in the Properties View (formerly known as Buttons Window).
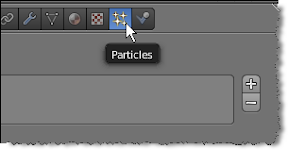
4. Click the + (add particles) button.

5. Blender will automatically create a particle system named “ParticleSystem”. Locate the Physics category by scrolling the scrollbar down> Then click the boids button.

6. At this point you can press Alt+A to test our animation.If you noticed, our simulation does not would do that much because what we have done so far is to create the cube object as a source or emitter of our boids particles.
7. The next thing that we need to do is to add an object that will serve as destination or goal of our boids particles. To do that, position the 3d cursor a few blender units away from our cube object.
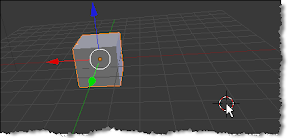
8. Press Shift + A>Mesh>Icosphere.
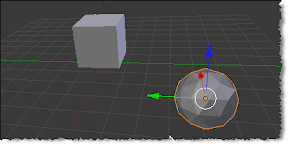
9. You can add any object you want as a destination of our boids particles but in this case we’ve used an icosphere as our goal object(no reason in particular). Select the icosphere by right-clicking on it>Click the Physics button from the Properties View.

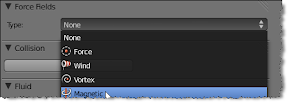
10. Locate the Force Field category. Select Magnetic from the type listbox.
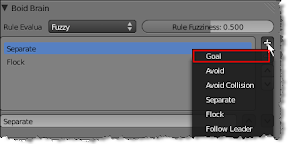
11. Select your cube object by right-clicking on it>Click the particles button> Locate the Boid Brain Category>Click the +(Add Rule) button>Select Goal.
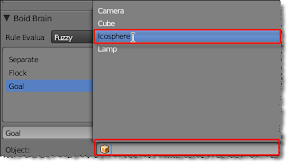
12. Click the Goal object textbox> Select icosphere.
13. Press Alt+A to test your animation. If you noticed our boids particles seemed to be moving in the direction of our destination object (icosphere). Unfortunately it does not actually reached the icosphere because it dies after 50 frames. To increase the boids life, right-click the cube object>Click the Particles button. In the emission category, change its Lifetime value to 999.000.

14. You can change whatever particles lifetime value you like just make sure that it is identical to the ending frame of our animation. To change the ending frame of our animation, locate the End option in the timeline then change it to 999.

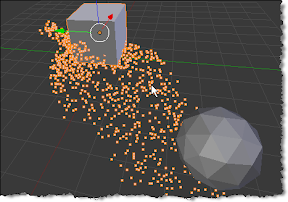
15. Press Alt + A to test your animation. You should now see an output similar to the following.
No comments:
Post a Comment
Note: Only a member of this blog may post a comment.